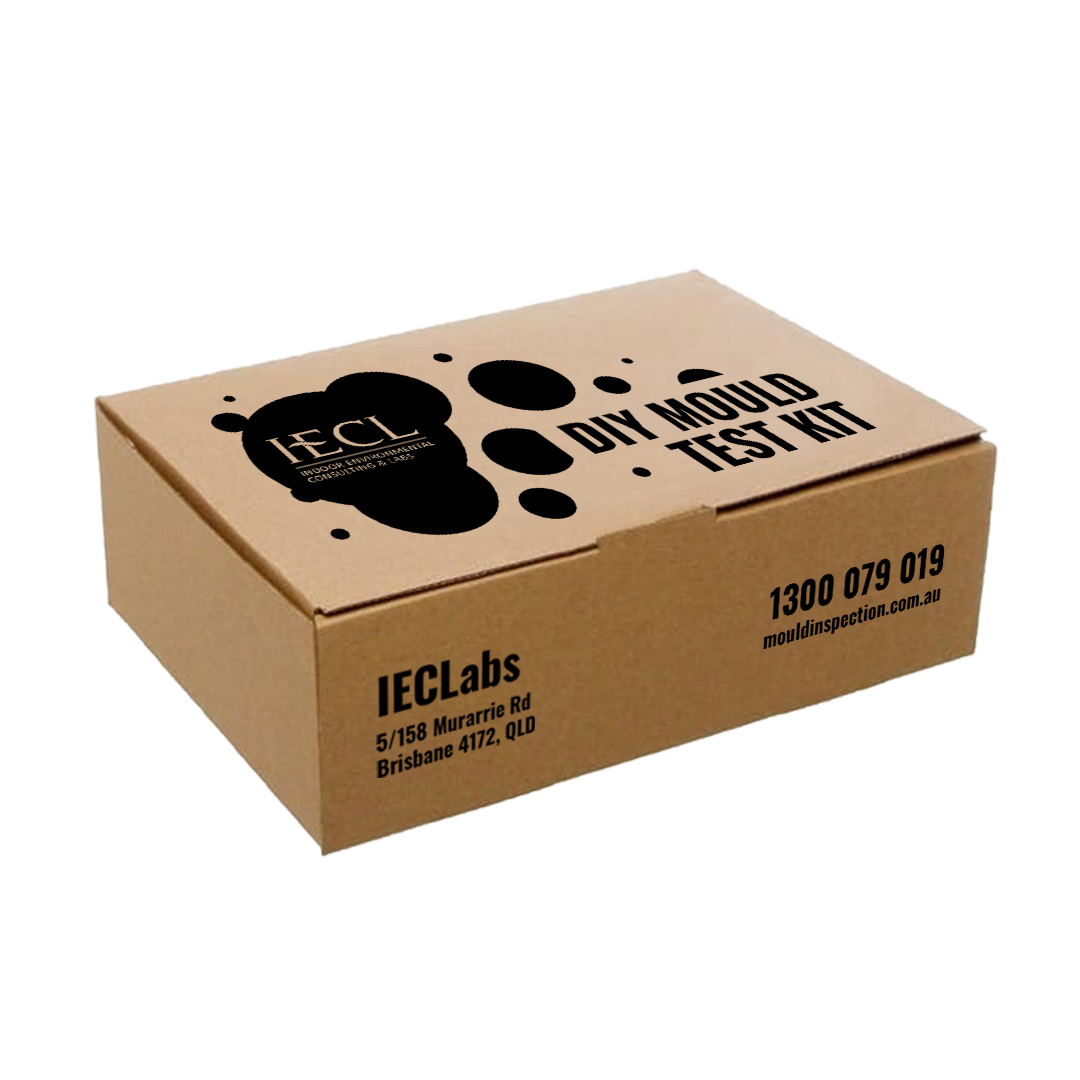
The DIY Mould Testing Rental Kit is designed to help you answer the following questions:
- Is the mould in my home at normal levels, or is it elevated?
- What types of mould are growing in my home?
- What health effects can come from the mould in my home?
- What does the mould in my home indicate about the health of my property?
The Kit was developed in consultation with industry experts, aiming to help you understand better what is happening in your home, and all of our laboratory work is overseen by our Laboratory Director, Dr. Alexander Wilkie.
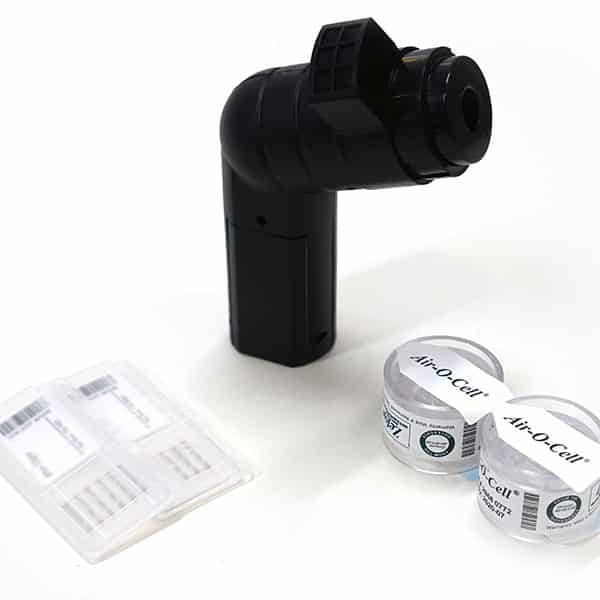
What’s Inside the DIY Mould Testing Rental Kit
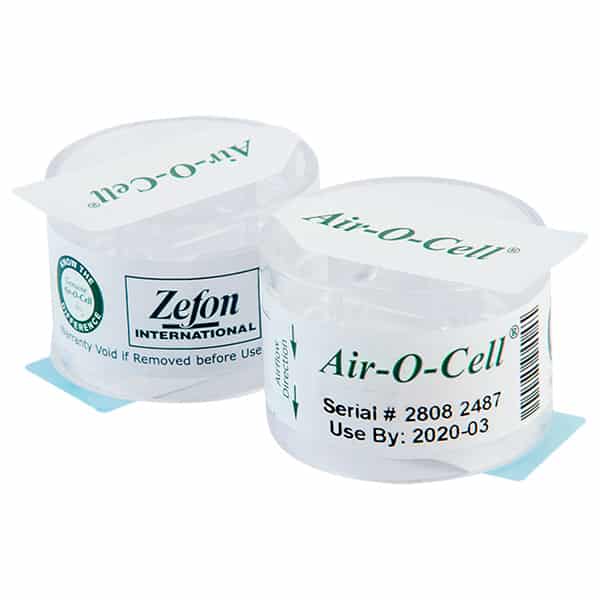
- 3 x Air-O-Cell air sample cassettes,
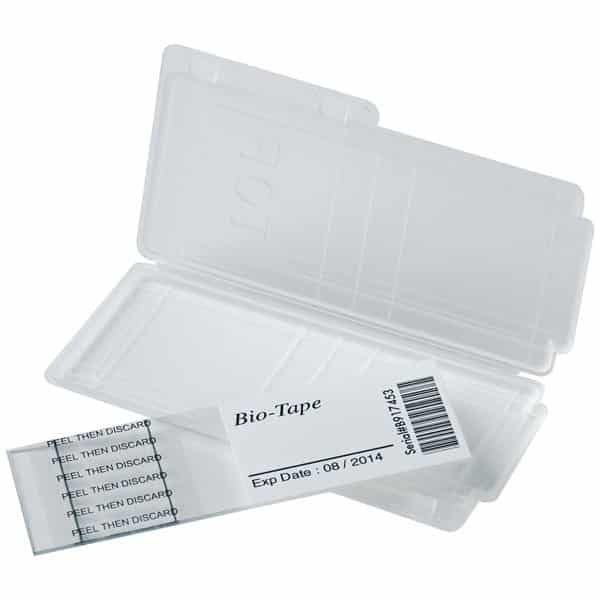
- 2 x Bio-Tape surface samplers,
- 1 x Vacuum Air Pump for taking air samples,
- Easy-to-read Instructions,
- A return Australia Post Express bag (so you don’t have to pay for return shipping), and
- A Chain-Of-Custody Form
How The Kit Works
We send the kit in an Express Post bag through Australia Post, so you’ll usually get the package the next business day after placing your order.
Once you receive the kit, the included Instruction Guide (digital link here) will guide you through the process of taking samples. If you have questions at any point, or need help knowing where to sample, feel free to call us at 1300 032 004, or check out more DIY mould sampling tips here. Don’t forget to label each sample with the place you took it. We also recommend taking a photo with the sample ID and location visible, so you can double check your testing locations and sample IDs if you need.
After you’ve taken all the samples you’d like, return them into their resealable bags and place them all in the kit. Make sure you fill out the Chain of Custody. Write your address on the back of the return Australia Post Bag, and place it in the nearest Australia Post Express Box (you can find them here). We’ll read, receive, and email you the results, usually within 24 hours of receiving the samples.
How Bio-Tapes Work
A Bio-Tape consists of a flexible plastic microscope slide with an adhesive area, which is used to capture the sample. It also has a description label for identification and a plastic holder case.
Bio-Tape slides provide a convenient way of surface sampling for contaminants.
How Air-O-Cells Work
The Air-O-Cell collects a range of airborne aerosols from an area, including mould spores, fibers, pollen, and even skin cells. The Air-O-Cells work by drawing in air through the cassette and depositing aerosols onto a small microscope slide inside the cassette body. With a standardised running time(5 minutes) and standardised flow rate (15 litres per minute), it’s possible to rapidly and accurately identify and assess the volume of mould spores, debris, fungal hyphae, and pollen counts in the area. The Air-O-Cells are shipped back with our DIY Mould Testing Kit for microscopic analysis. All our Kits come with easy-to-read instructions, so set-up and use of your Air-O-Cells is simple and smooth.
We recommend that you sample the outside air with one Air-O-Cell, in order to enable more accurate comparisons of local mould ecology and levels.
How the Vacuum Air Pump Works
The vacuum air pump works by pulling in air through the top of the pump, through an Air-O-Cell air cassette, and out through the underside. It is powered by a small wall adaptor, and has a simple five-minute timer inbuilt. You plug it in, slot the Air-O-Cell cassette onto the top of the machine, press the power button, and wait until the 5 minute timer ends. The vacuum pump will turn itself off after it is finished sampling.
You may also wish to read this article on mould sampling before collecting your samples if you have not performed sampling before.
How Quickly Will I Get Results?
In the six months period (May-Nov 2020), we read 59% of our samples on the same day as they were delivered, and 88% in 1 day or less. All our kits are sent with Australia Post Express Prepaid bags for returns, so shipping and handling times are among the fastest in the industry.
FAQ’s with Dr. Alex Wilkie, Laboratory Director
Q: How does this instrument perform across the particle size range of inhalable and respirable particulate matter?
A: It is my understanding that Air-O-Cells’ capture of particulate is not dependant on the pump type, as long as 15LPM is maintained throughout the sampling. Therefore, performance over particle size ranges should be the same as Air-O-Cells using a Biopump (approx. 50% capture @ 2.3um, approaching 100% @ 3um) (Grinshpun et al, 2007, Trunov et al, 2001). This is because the pump is connected to the outlet of the Air-O-Cell and the shaped inlet is the main factor that influences deposition of particulate onto the media of the cassette. The DIY testing units we are using are powered from mains (240V AC) to minimise variability from low batteries or other such issues. Testing of each unit with a flow meter is conducted and monitored over a 5 minute (as timed by the in-built 5 minute timer) period for drops or spikes in the flow rate. The units cannot be user calibrated.
Q: Are samples able to be analysed under ASTM 7391-20 if you are using this pump?
A: Yes, samples are still analysed under ASTM D7391-20.
Q: How does it vary if someone claims to have held if for 5 minutes and held it for 30 seconds or pressed harder at some times than others?
A: As with every type of sampler, sampling with the unit could be conducted in a dishonest fashion. The sampler may remove the cassette during sampling, but the same could be done with any sampler. However, there are disclaimers stating that any sampling which is not conducted by a professional and well documented may not be sufficient evidence for certain applications, and certainly not for legal purposes.
Q: How are you measuring the uncertainty of your analysis using this instrument?
A: Statistical analyses of results from DIY testing has never been asked for, nor would we provide it. Applications requiring measurements of uncertainty would have to be sampled by a qualified person with the appropriate training.
Q: How does someone interpret their results? What is someone gets a high count and is sick? Could this lead to legal actions?
A: Interpretation of the results is up to the user. The results are given to provide an indication of contamination, at lower cost. Recommendations to seek professional advice and have a trained person conduct further testing are given if the results show abnormal fungal growth. Disclaimers are included on the reports that samples are taken by untrained persons, and not to be used for medical assessments.
Q: What is someone going to do with 1 air sample given air’s heterogeneity etc.
A: The kits are sold with 3 air samples so an outside reference sample can always be included with the air samples. Testing of multiple locations is unlikely with DIY testing as our recommendations are that any extensive mould contamination or issues in multiple rooms in a premises are sampled and inspected by professionals. DIY testing is more used as an indication if further investigations are required.
Sources:
Mikhaylo Trunov, Saulius Trakumas, Klaus Willeke, Sergey A. Grinshpun, and Tiina Reponen (2001). “Collection of Bioaerosol Particles by Impaction: Effect of Fungal Spore Agglomeration and Bounce”. Aerosol Science and Technology 35: 617–624
Grinshpun, S., Adhikari, A., Cho, S-H., Kim, K., Lee, T., & Reponen, T. (2007). “A small change in the design of a slit bioaerosol impactor significantly improves its collection characteristics”. Journal of Environmental Monitoring 9(8):855-61


